Scratch Tutorials: Step-by-Step Coding Instructions
Embarking on a creative journey with Scratch? Great! Scratch, a wonderful programming platform by MIT, enables kids and adults alike to explore computational thinking in a fun, interactive way. While it seems like magic, creating animations and games on Scratch is actually a series of simple instructions that anyone can learn. Let's dive in and explore some basic scratch instructions.
Scratch is all about block-based coding, making it incredibly accessible for beginners. It uses a drag-and-drop interface, where each block represents a piece of code. To get started, let's explore the basics of how to move a Sprite (the character or object you're animating) around the screen.
Basic Movement
Motion in Scratch is as easy as plugging in the right blocks. Let's start with the most fundamental movement: moving a Sprite around.

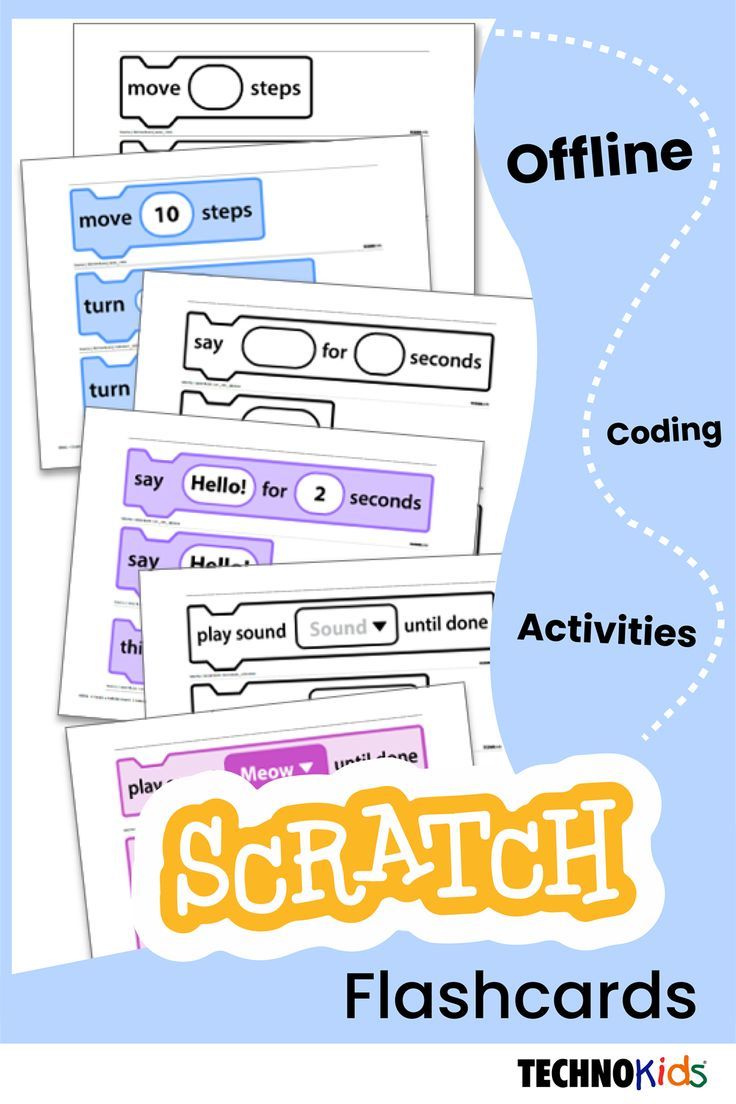

First, let's get acquainted with the Motion blocks. You'll find them in the 'Motion' category of the Blocks Toolbox. These blocks are the backbone of animating your Sprites.
Moving Forward
To make your Sprite move forward, you'll use the 'move steps' block. Here's how:


1. Drag the 'when green flag clicked' block from the 'Events' category. This block corresponds to the Start button in your Scratch project.
2. Attach the 'move steps' block from the 'Motion' category to the 'when green flag clicked' block. This block moves your Sprite forward by a specified number of steps. Try starting with 100 steps to see it in action.
Turning
Now that your Sprite is moving, let's make it turn. Scratch uses degrees to measure turns, with 360 degrees equaling a full circle.


To turn your Sprite left or right, use the 'turn' block. Here's how:
1. Drag the 'when space key pressed' block from the 'Events' category. This block lets you assign a keyboard key to initiate an action.
2. Attach the 'turn' block from the 'Motion' category to the 'when space key pressed' block. To turn left, enter a negative number (like -90 for a quarter turn), and to turn right, enter a positive number (like 90 for a quarter turn).
Controlling Sprite Looks
In Scratch, a Sprite's appearance can significantly impact its story. Let's change your Sprite's look with these simple instructions.
Changing Costume
Scratch comes with a variety of costumes (images) for your Sprite. You can use the 'set costume to' block to change your Sprite's costume.
Here's how to change the costume: 1. First, ensure your Sprite has multiple costumes. You can add new costumes by clicking on the 'costumes' tab at the top of the stage and then clicking the 'costume1.png' default costume. 2. Drag the 'when this sprite clicked' block from the 'Events' category. This block makes something happen when your Sprite is clicked. 3. Attach the 'set costume to handful' block from the 'Looks' category to the 'when this sprite clicked' block. This block changes your Sprite's costume to the costume you choose from the dropdown menu. Try changing it to 'costume2' for a quick costume change.
Saying Something
Sprites can come to life with speech bubbles! Use the 'say' block to make your Sprite speak.
Here's how to make your Sprite say something: 1. Drag the 'when green flag clicked' block from the 'Events' category. 2. Attach the 'say '....' for.....secs' block from the 'Looks' category. Replace the '....' with the text you want your Sprite to say. The 'for.....secs' part determines how long the speech bubble stays on screen. Try saying 'hello!' for 1 second.
As you venture deeper into Scratch, you'll discover a wealth of blocks and possibilities. Remember to experiment, explore, and have fun! Who knows what amazing creations you might come up with? Happy Scratching!
Related Articles
Scratch Coding: Easy Step-by-Step Instructions
Unlocking creativity and building computational thinking skills can be a fun and rewarding experience with Scratch, a visual programming language developed by...

Permanent Crown Installation: Step-by-Step Instructions
Discovering you need a permanent crown can stir up a whirlwind of questions and concerns. But don't let anxiety overpower you. We're here to guide you through...

Fender Mustang Micro Plus Tuner: Step-by-Step Instructions
Get the most out of your Fender Mustang Micro Plus tuner with our step-by-step instructions! This compact, innovative device delivers high-precision tuning...

Megatron Transformer Assembly Instructions: Step-by-Step Guide
Exploring the captivating world of transformers? Then you've likely encountered the nomenclature "Megatron" - a term that echoes with significance in this...

Angel Tree Program: Step-by-Step Instructions
Are you looking to make a positive impact this holiday season? Consider participating in the Angel Tree program, a remarkable initiative that provides gifts to...

Von Duprin Installation Instructions: Step-by-Step Guide for Easy Setup
Installing a door lock can seem like a daunting task, but with the right guidance, you can do it yourself and save on professional installation costs. When it...