Label Electrical Panels: A Comprehensive Guide with Safety Tips
When it comes to electrical safety in your home or business, one of the most critical components is the electrical panel. Also known as the circuit breaker box, this vital piece of equipment is responsible for distributing electricity throughout your space. Understanding how to label an electrical panel is not only helpful for maintaining safety and order, but it's also a fundamental requirement during inspections and audits. Let's dive into the importance of labeling electrical panels and explore a comprehensive guide on how to do it correctly.
In many cases, electrical panels are located in areas that are not easily accessible or visible, making it crucial to have an accurate labeling system. This labeling ensures that anyone who needs to work on the electrical system can quickly locate and identify the correct circuit breaker. It can significantly reduce downtime, prevent costly errors, and enhance overall efficiency.
The Importance of Labelling Electrical Panels
Electrical panels are the backbone of a building's electrical system, housing all the circuit breakers controlling power distribution. Labels on your electrical panel are essential for several reasons, including:


- Safety: Proper labeling helps prevent electrical shocks, fires, and other accidents by ensuring the right circuit breaker is turned off when working on electrical components.
- Efficiency: Correctly labeled panels save time when troubleshooting or performing maintenance, reducing downtime and potential costs.
- Compliance: Many Electrical Codes and Standards enforce proper labeling of electrical panels.


Understanding Electrical Terms:AMP & Volts
Before we delve into the nitty-gritty of labeling, it's important to understand a few electrical terms:
- Amperage (Amps): A measurement of the electrical current flowing through a circuit.
- Voltage (Volts): A measurement of the electrical potential difference between two points.
Gathering Information for Labels
To create accurate labels for your electrical panel, gather the following information for each circuit:
- Circuit breaker size (usually 15, 20, or 30 amps)
- Wiring color
- Circuit description (e.g., Lighting, Refrigerator, Outlets, etc.)
- Amount of power consumed (in Volts or Watts)
How to Label an Electrical Panel
Now that you have all the necessary information, follow these steps to create clear and concise labels for your electrical panel:


Electrical Panel Faceplate Labels
Using pre-made electrical panel faceplate labels or creating your own, add the following details to each label:
- Circuit description (e.g., Bathroom, Kitchen, etc.)
- Amperage (e.g., 15A, 20A, etc.)
- Wiring color (e.g., Black, White, etc.)
- If necessary, include the total load consumed by the circuit (Volts or Watts)
Interior Circuit Breaker Labels
For enhanced safety and clarity, consider labeling the interior circuit breakers as well:
- Remove the circuit breaker faceplate with caution.
- Attach a label to the side or top of each breaker, clearly visible when the panel door is open.
- Include the same details as the faceplate labels.
Regularly review and update your electrical panel labels as needed, ensuring they remain accurate, clear, and up-to-date. Properly labeling your electrical panel improves safety, efficiency, and compliance with Electrical Codes, making it an essential task for any homeowner or business owner.
In conclusion, while labeling electrical panels may seem like a simple task, it plays a significant role in maintaining electrical safety and overall system efficiency. By understanding electrical terminology, gathering relevant information, and following the correct labeling procedures, you can ensure your electrical panel is well-organized and easy to navigate. Stay informed, stay safe, and keep your electrical system in top shape!
Related Articles
Label Electrical Panels: Safety First With Professional Labelling
Safety first is the mantra when dealing with electrical systems, and this adage extends to the critical aspect of labelling electrical panels . Clear and...

Understanding Electrical Panels: A Comprehensive Explanation
The electrical panel, often called the breaker box or fuse box, is the nerve center of your home's electrical system. It's where your home's electrical...
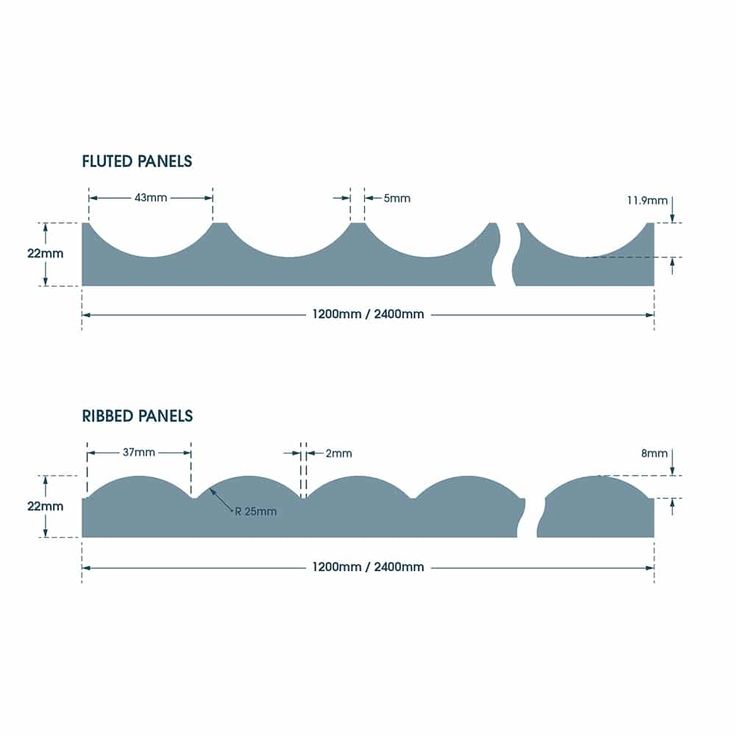
Standard Size of Fluted Panels: A Comprehensive Guide
When architectural or construction projects require division into panels, one popular choice is fluted panels. These panels offer both aesthetic appeal and...

Is Your Federal Pacific Panel Safe? A Comprehensive Guide
This article aims to provide a comprehensive overview of the safety issues surrounding Federal Pacific Electrical Panels, helping homeowners understand the...

Electrical Panel Installation: Tips & Steps
Embarking on a home electrical project? One of the most crucial aspects is installing the correct electrical panel. This core component dictates the safety and...

Electrical Panel Labeling: A Comprehensive Guide
Electrical panel labels play a pivotal role in ensuring safety and ease of maintenance in both residential and commercial settings. They serve as visual...